
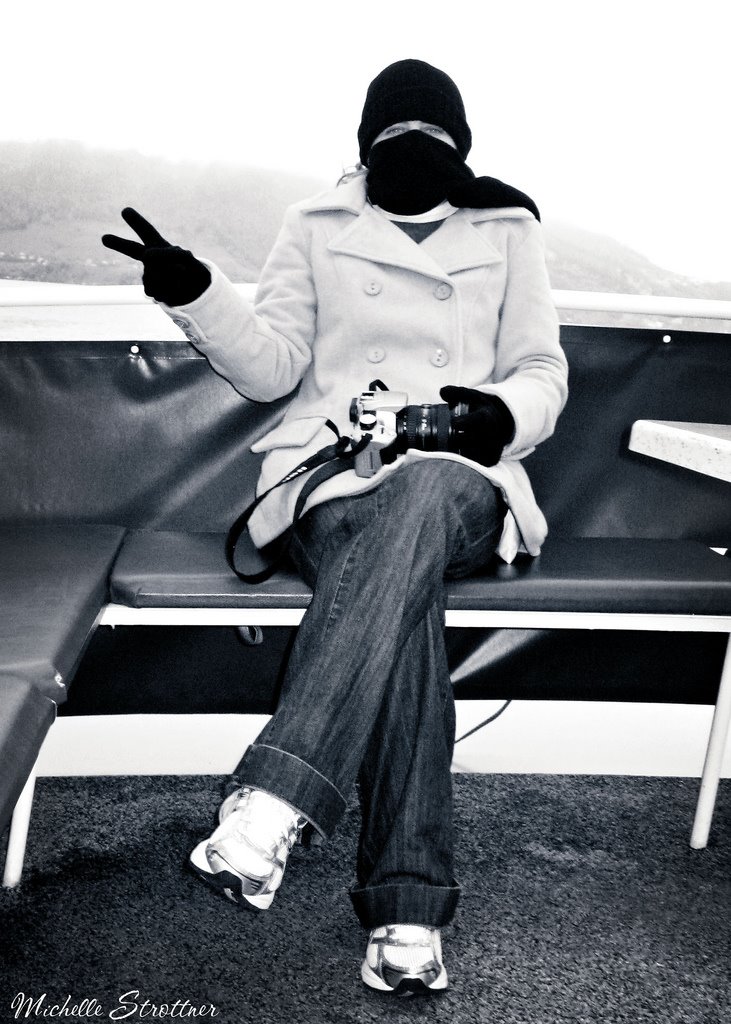
- First, apply any adjustments you may want to do beforehand. For example, sharpen or color correction (performed in this photo).
- Flatten image and then go IMAGE>MODE>LAB COLOR.
- Select the Channels tab in the Layers Palette.
- Click on the "Lightness" channel. CTRL+A to select the entire picture then press CTRL+C to copy the Lightness channel.
- Go IMAGE>MODE>RGB COLOR to return to the RGB mode.
- Now go back to your channels
 tab and under each channel (Red, Green, Blue), CTRL+V to paste the original Lightness channel you copied in Lab Mode.
 - Once complete, go back to the layers tab.
- To adjust the contrast to your liking. I use the Levels Adjustment, which is located under "Create New Fill or Adjustment Layer".

Click here for other pictures that have been converted to B&W!
No comments:
Post a Comment